AOD (Array On Demand) to
Relativity Export
Array On Demand (AOD) can export and load
documents into existing Relativity Workspaces. An admin can configure the
relativity connector and map the AOD fields to Relativity fields. Once
Relativity connector is configured, multiple exports can be made from AOD to
Relativity Workspace.
AOD Production - Run a
search for the documents that need to be exported and then click on Produce. Let
us cover each of the options in this export wizard.
Destination - Under
“Select the connector", select "Relativity". This enables the
"Environment" and “Workspace" drop boxes.
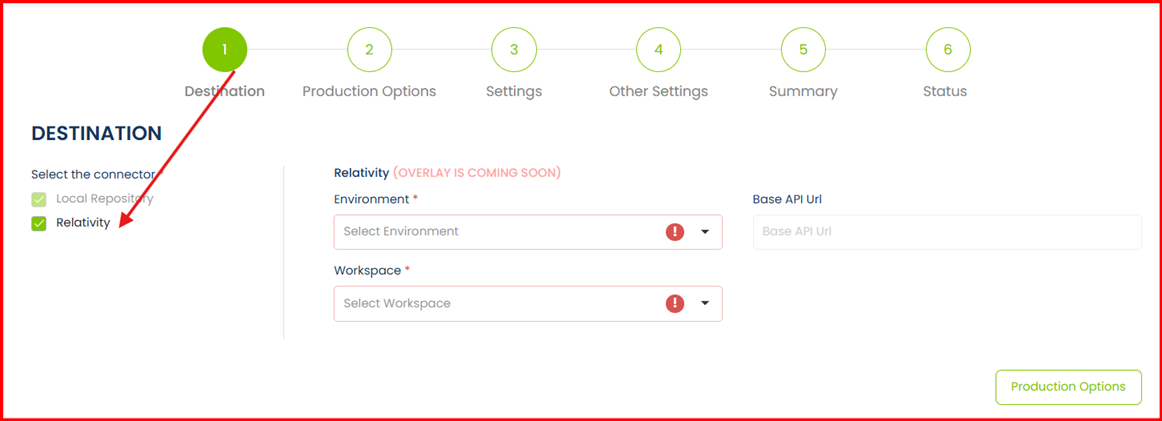
Select the “Environment” and corresponding “Workspace” appear in the Workspace drop down menu. Select the
workspace name. Base API URL is automatically populated as a read-only field
and “Workspace File Share”
automatically populated the file share path for that workspace. Continue by
clicking Production Options.

Notes: The current screenshot shows Relativity One Connector and the environment
drop down is user specific. An Admin will need to configure the connector using
their Relativity credentials.
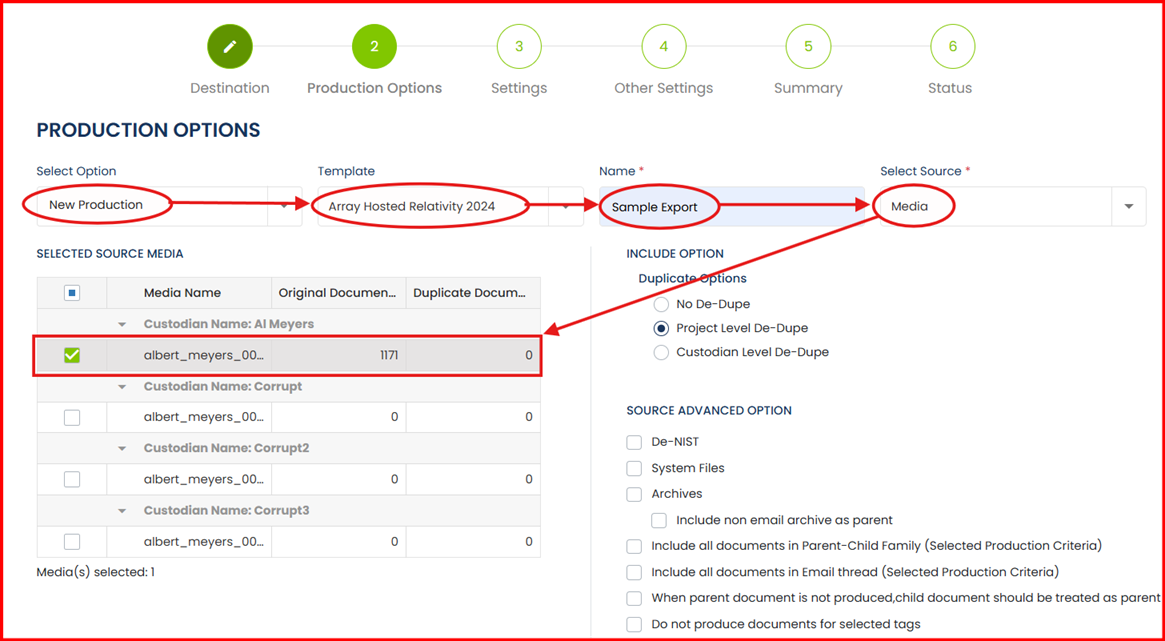
Production Options: Select Option
“New Production” – Select Template “Array Hosted Relativity 2024” – Name “Production/Export”
– Source “Media/Tag/Saved Search or Folder”
Note: A
default template has been created for your convenience. The template name is
Array Hosted Relativity 2024. This template is designed to export Natives, Text
along with a DAT file.
Settings: You will notice multiple tabs
within the Settings group. These tabs are covered below.
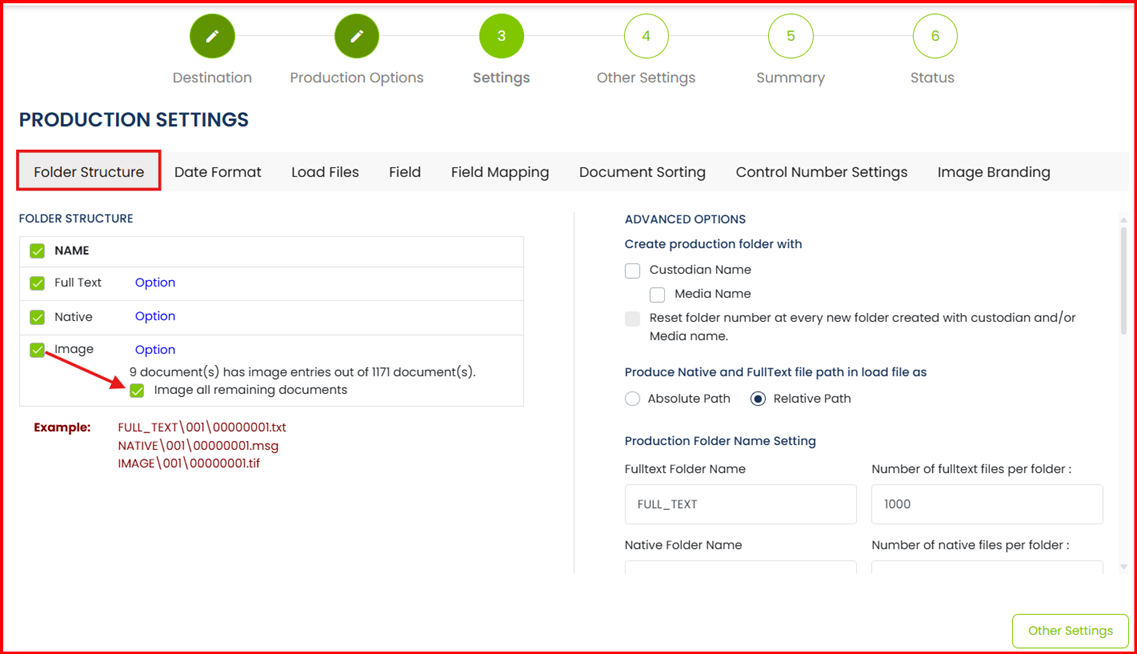
Folder Structure:
Choose Full Text, Native, and Image as needed for the export.
If Images are being exported, please ensure imaging is
complete for all documents or send them for imaging.
Note: Relativity supports only Single Page Images. All other
formats under Image Options are disabled.
Note: If Images will be included in the export, please check
the Image all remaining documents checkbox.
Validate other settings on this screen as needed.
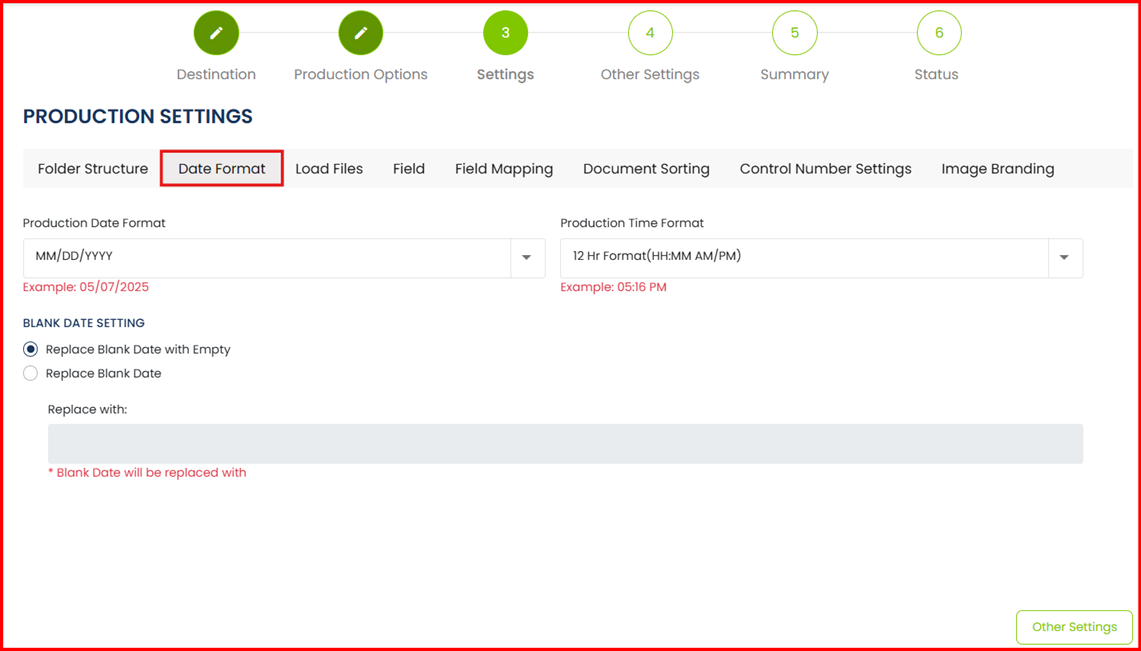
Date Format:
The Date Format provides options on how to format the
Date/Time when exporting. The default is set to our most familiar format.
Load Files:
Select the needed load files. For Relativity, the DAT and OPT
are required Load files.

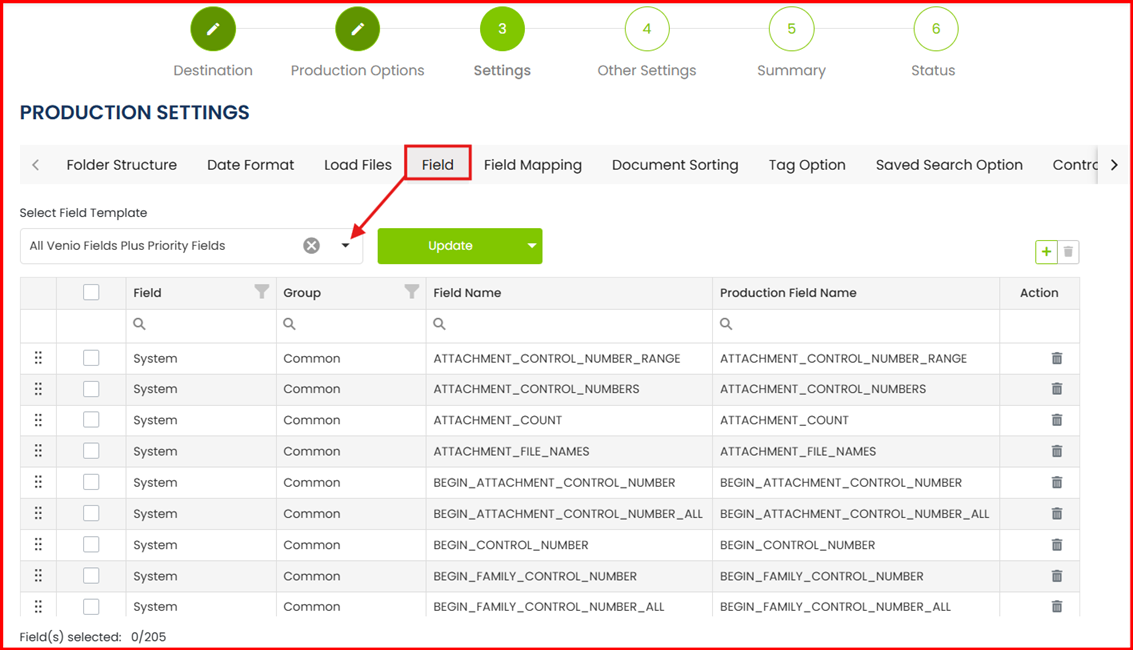
Field:
From the Field tab, select the field template from the list.
For your convenience, if the Array Hosted Relativity 2024
template was used, then the Field drop down will default to the “All
Venio Fields Plus Priority Fields” field template. However, other
templates are also available.
Note: The fields
contained within the Field group will be the fields provided in the DAT load
file. While it is recommended that, the fields within the Field Group and those in the Field
Mapping group do not have to match up in counts.
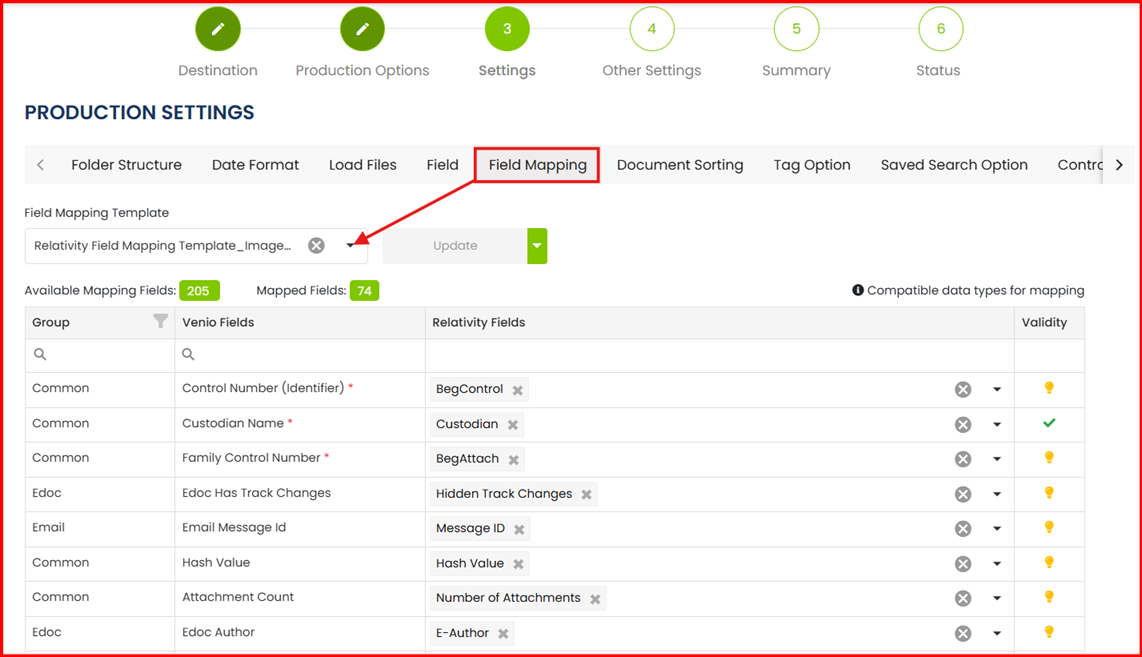
Field Mapping:
The fields in Field Mapping will be mapped and transferred to
the Relativity Case.
Below are two field mapping
templates available. Additionally, users have the option to create a custom
template to their specific needs.
Relativity Field Mapping Template_ImageNativeText:
Designed to be used along an export, which contains Images, Natives and Text
files.
Relativity Field Mapping Template_NativeText: Designed to be used along an
export, which contains Images, Natives and Text files.
Validation: Once an AOD is mapped
to a Relativity field, a validation is performed per field.
![]() - Notification icon, which lets a user know
the character limit.
- Notification icon, which lets a user know
the character limit.
![]() - Icon to let a user know this field is not
yet mapped to a Relativity field.
- Icon to let a user know this field is not
yet mapped to a Relativity field.
![]() - Icon to let a user know, this is a mandatory
field. The three mandatory fields are BegDoc, BegAttach and
Custodian.
- Icon to let a user know, this is a mandatory
field. The three mandatory fields are BegDoc, BegAttach and
Custodian.
![]() - This icon confirms an AOD fields has been mapped to a Relativity field.
- This icon confirms an AOD fields has been mapped to a Relativity field.
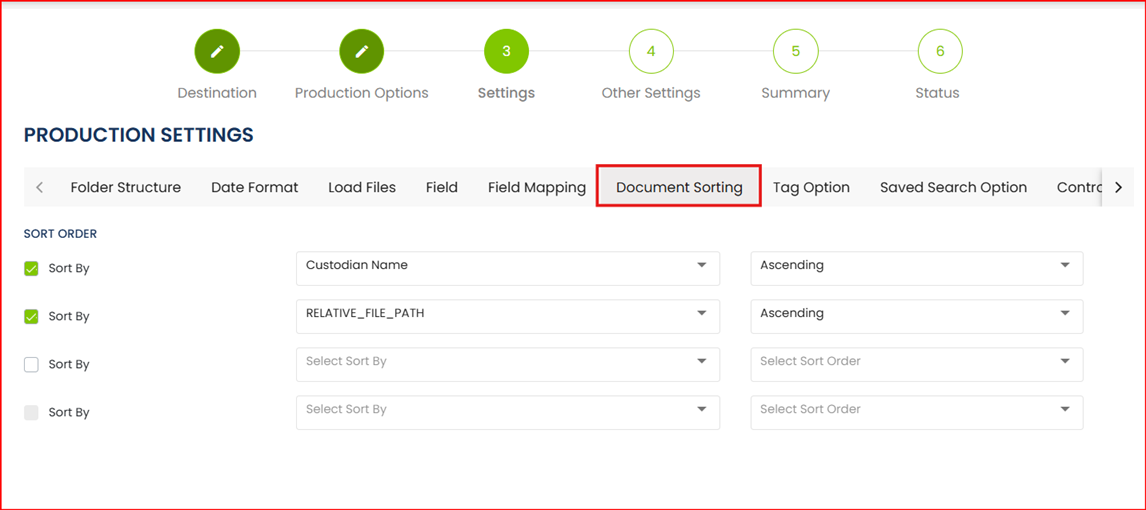
Document Sorting:
This setting determines the sort
order for the export. Common options include sorting by filepath/filename or in
chronological order.
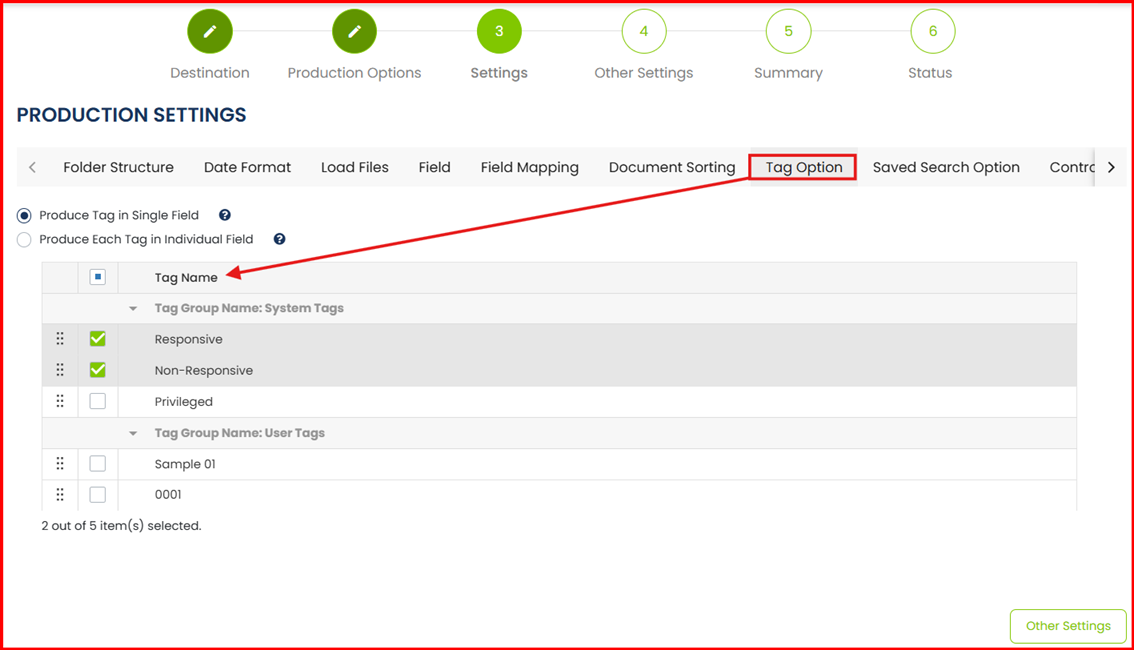
Tag Option:
This setting will cross over any work-product from the tag
pallet as a field.
Saved Search:
This field is based on the Search Hits field. If this is
included in the Field template, this will populate any search hits terms that
are mapped to the available search names below.

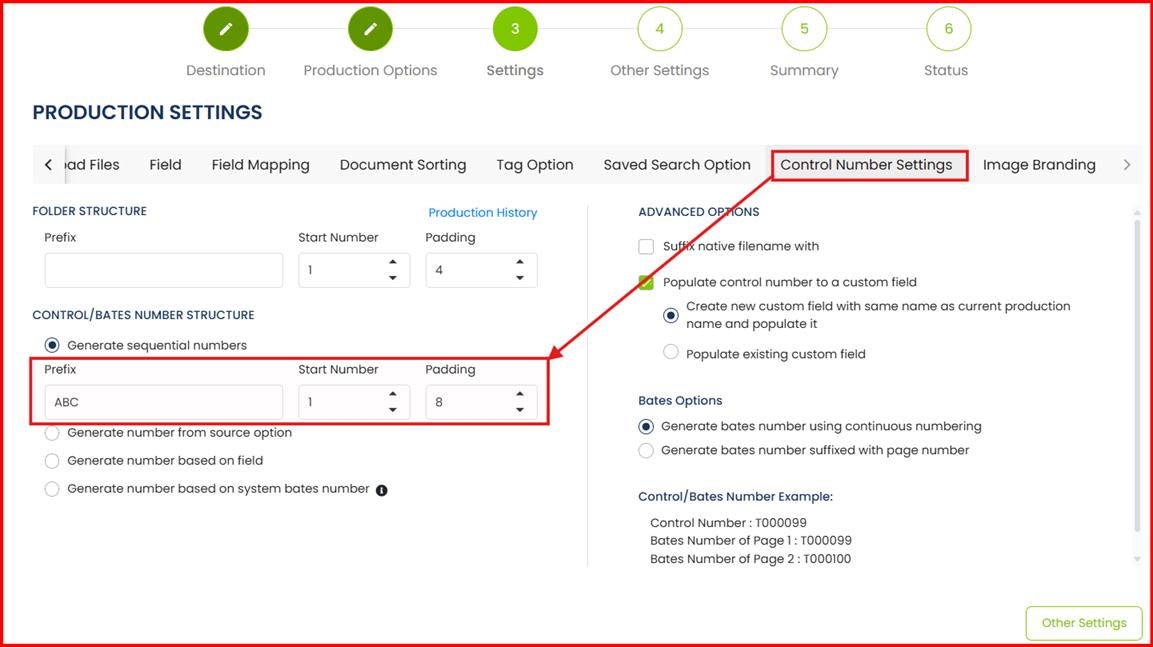
Control Number Settings:
In the CONTROL/BATES NUMBER STRUCTURE section, you can
provide the starting number.
Image
Branding:
If this is an Image export, a bates stamp can be applied to
the export. Additionally, a default message can also be added.
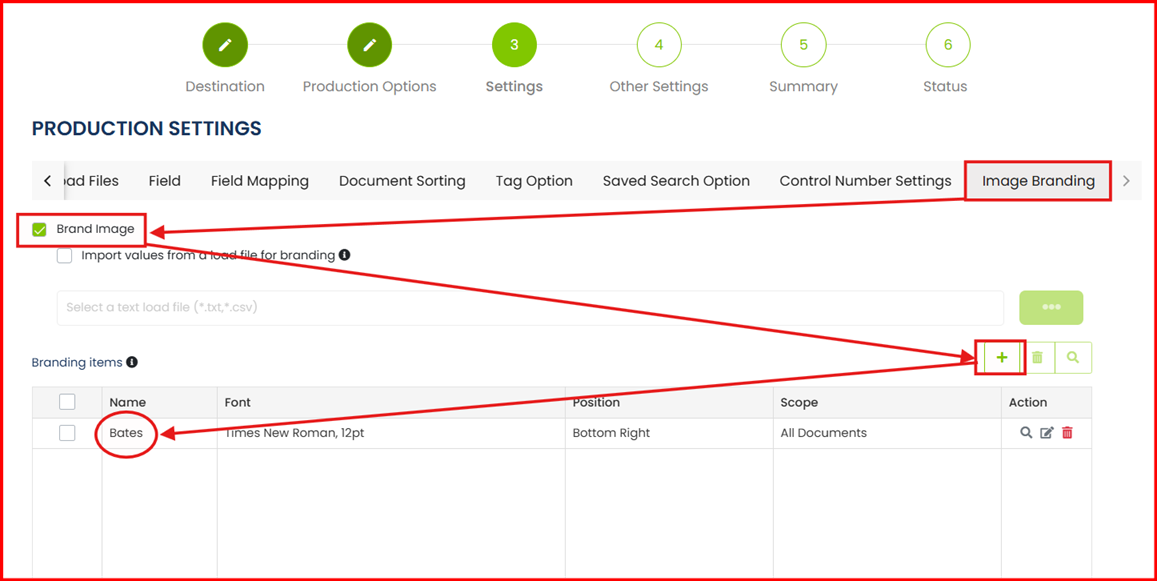
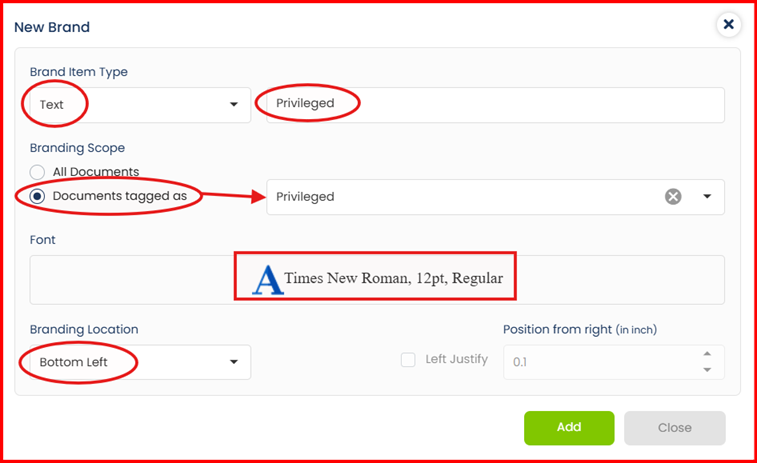
Endorsement: First start by checking the Brand
Image checkbox on the top right.
Bates: Start by
clicking on the
+ icon. The New Brand pop-up box
will appear. By default, the settings are in place to insert a bates field.
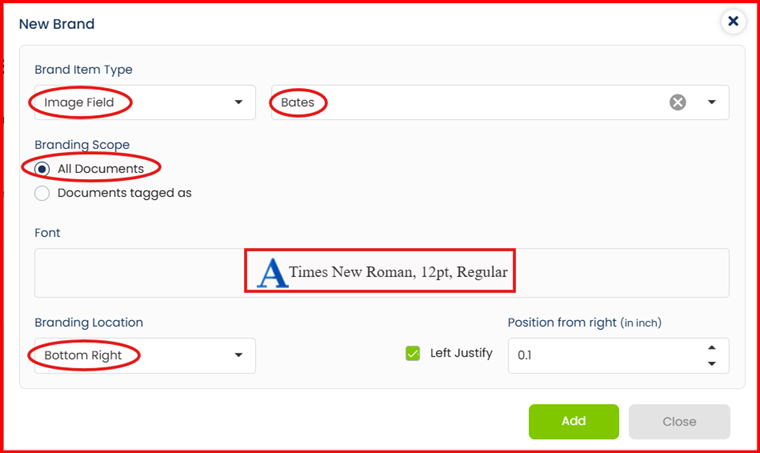
Message:
Update the Brand Item Type to Text. Type the default message to the right
of the text box.
Branding Scope: The default
is All Documents however, when Documents tagged as is selected, the branding
can then be applied to tagged documents specifically.
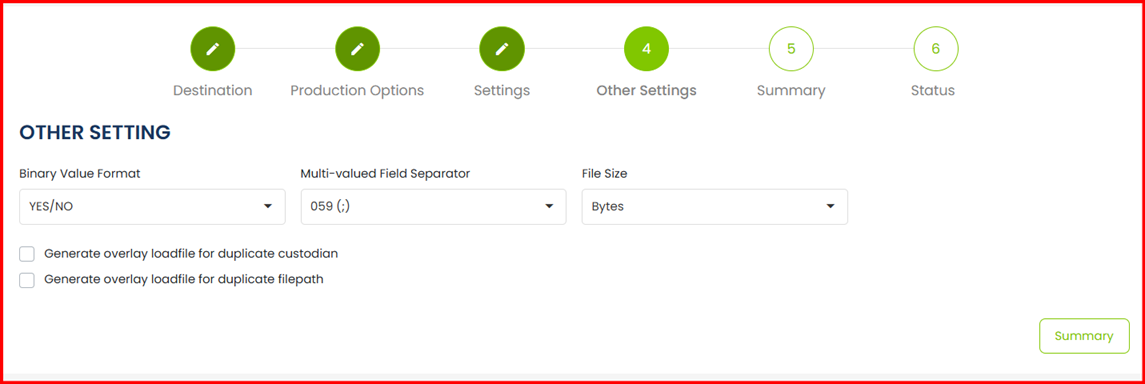
Other Settings:
No settings update required in this section. Please continue
to Summary.
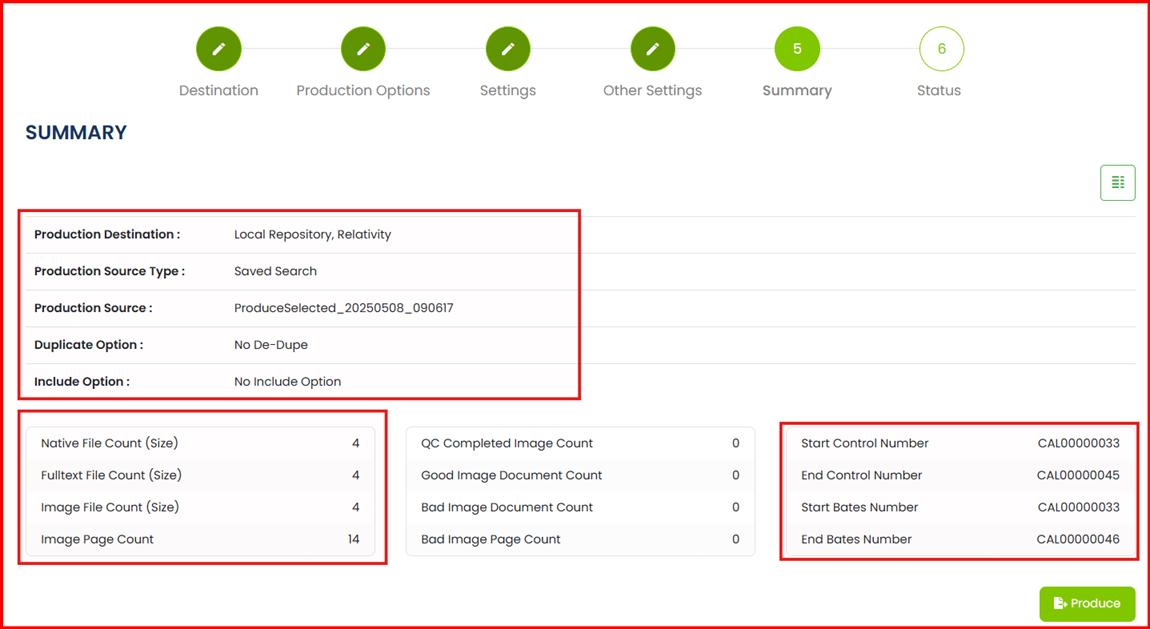
Summary:
Summary provides a recap of the document count. It is
important to review the document count and that this matches with the intended
count.
Product Destination: When exporting to Relativity, please
confirm this field also reads Relativity.
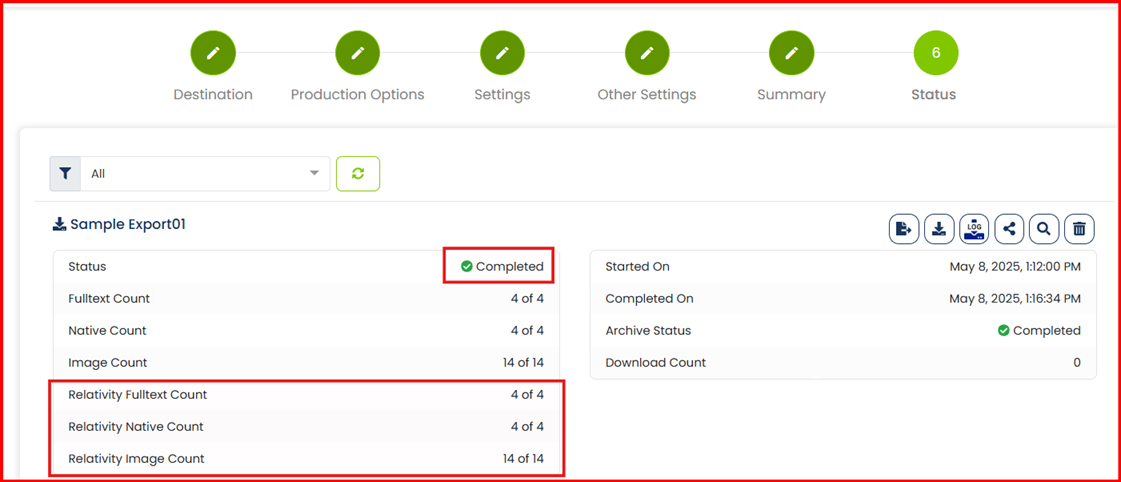
Status:
The status section will provide details on the progress of
the Export. Once this is complete, the status section will update to Completed.
If the export was designed to migrate the
results to Relativity, the Relativity Count should match the overall document
count.